

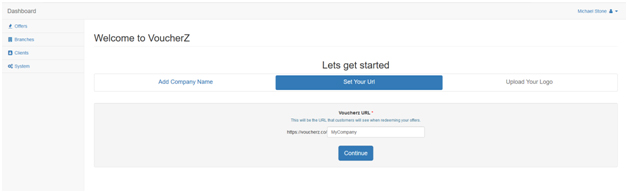

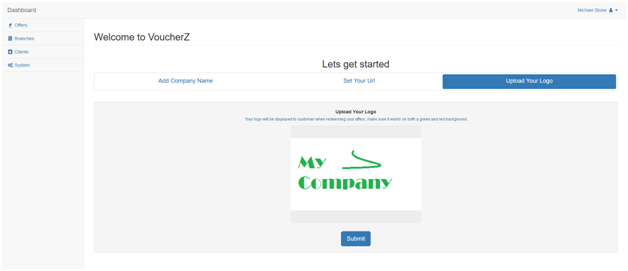
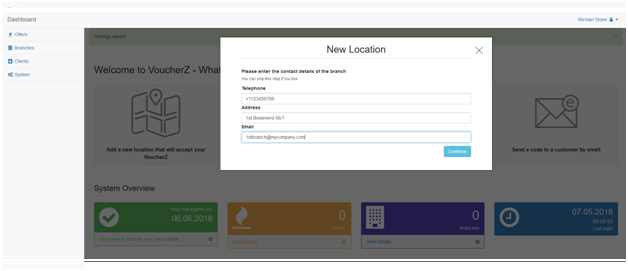
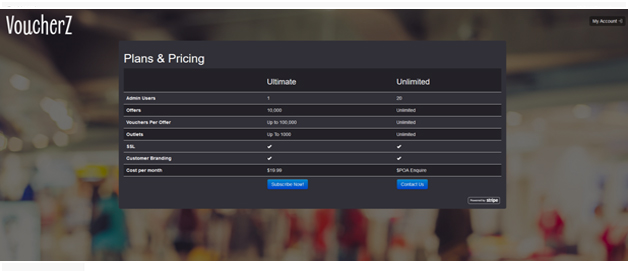
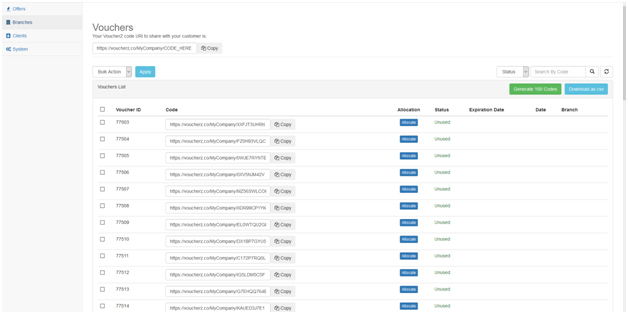
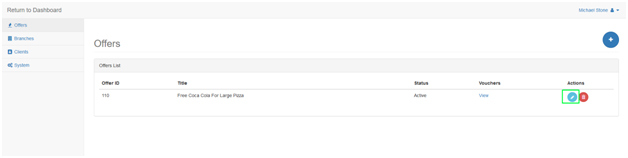

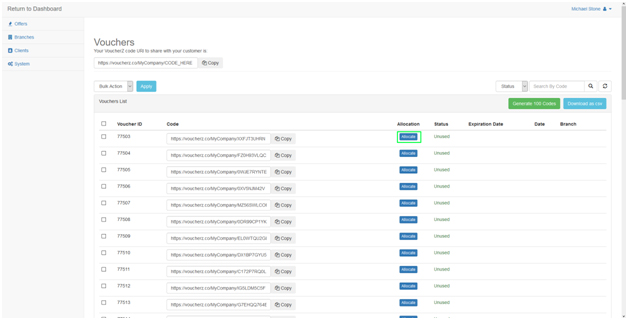
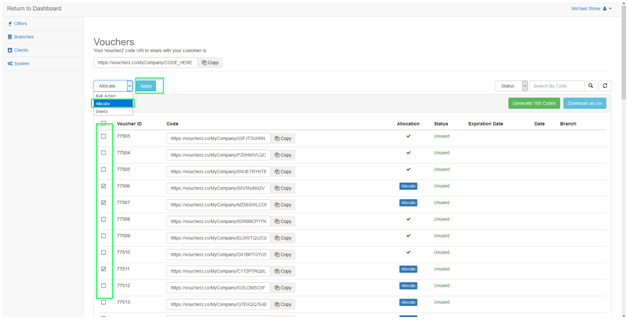
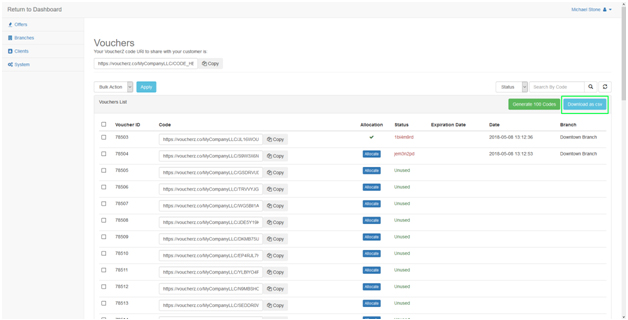
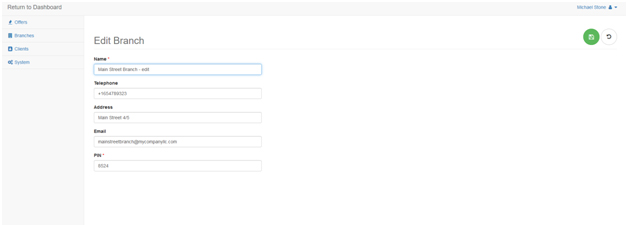
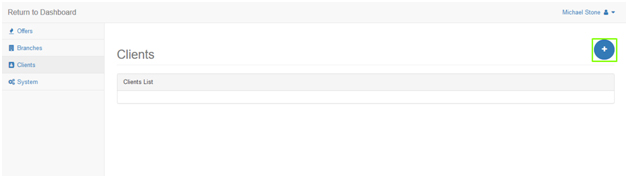
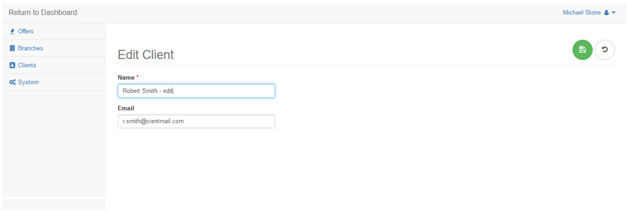
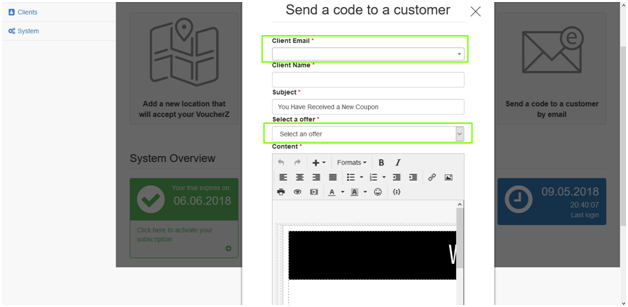
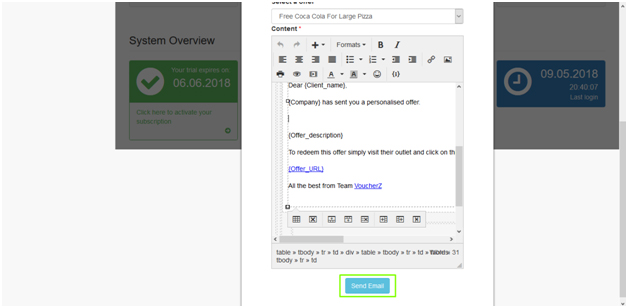
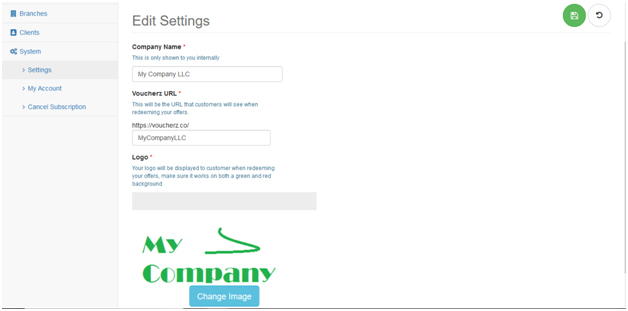

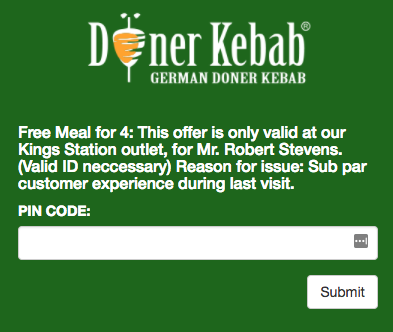
Actual screenshot from our system
Our Packages
Ultimate |
Unlimited |
|
|---|---|---|
| Admin Users | 1 | 20 |
| Offers | 10,000 | Unlimited |
| Vouchers Per Offer | Up to 100,000 | Unlimited |
| Outlets | Up To 1000 | Unlimited |
| SSL | ||
| Customer Branding | ||
| Cost per month | $19.99 | $POA Enquire |
| Sign Up Now | Sign Up Now |

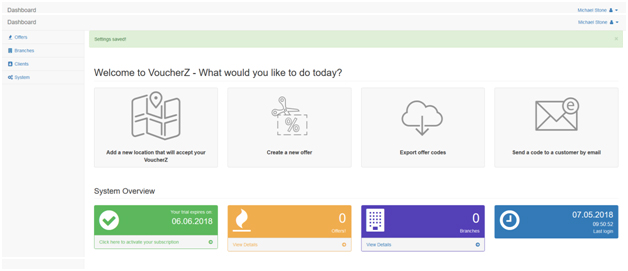
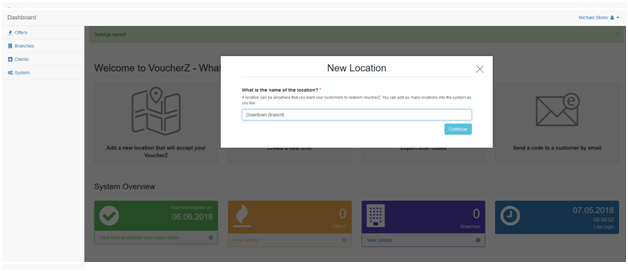
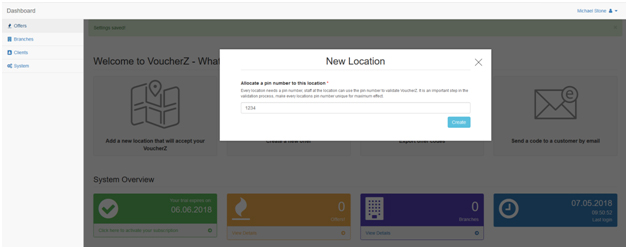
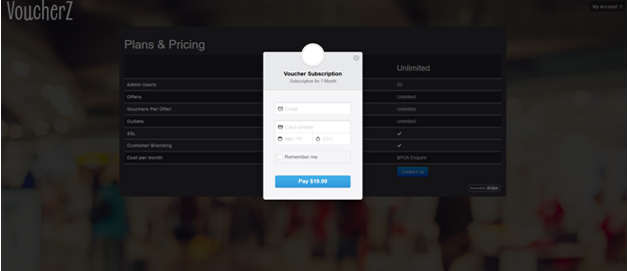
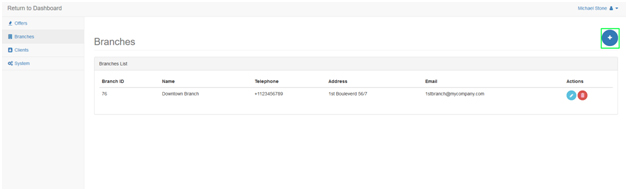
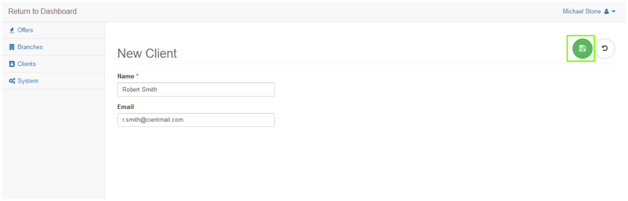
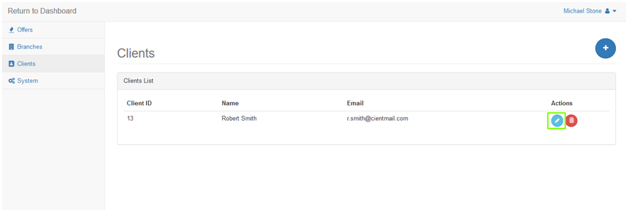
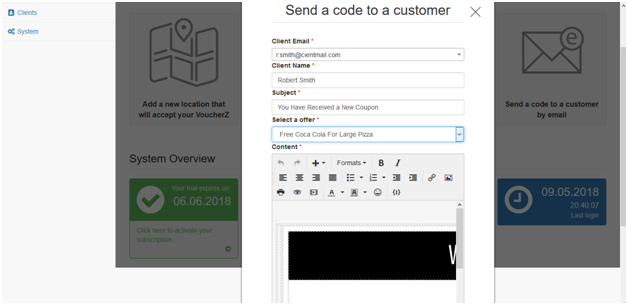
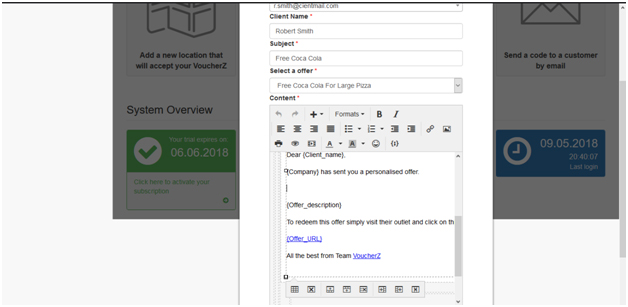
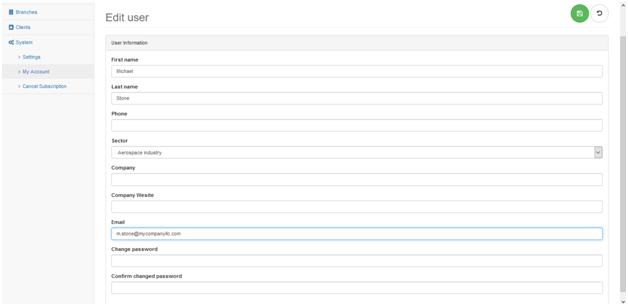
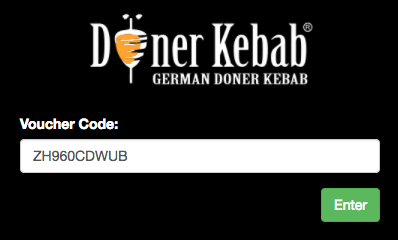
Actual screenshot from our system

Our Packages
Ultimate |
Unlimited |
|
|---|---|---|
| Admin Users | 1 | 20 |
| Offers | 10,000 | Unlimited |
| Vouchers Per Offer | Up to 100,000 | Unlimited |
| Outlets | Up To 1000 | Unlimited |
| SSL | ||
| Customer Branding | ||
| Cost per month | $19.99 | $POA Enquire |
| Sign Up Now | Sign Up Now |

By using this site you agree to VoucherZ standard terms and conditions. We value your information highly and do not share it with any 3rd parties. We reserve the right to cancel any accounts that abuse our system in any way, or utilise it in a manner that is in any way unfair to the general public. Any complaints can be sent to hello@voucherz.co